Santa Fe, Prescott and Phoenix Railway
1892 Route
Hiked September 8, 2012
I'm going to back track a little bit since I didn't hike
the lower portion of the horseshoe loop during my earlier trips. On Saturday
September 8, 2012 I made another trip up into Limestone Canyon to try and
hike some segments that I had missed. This installment will cover the lower
leg of the horseshoe along with trying to capture some now and then shots
from a nearby hill.
This first shot is an attempt to recreate a Sharlot Hall photo which
highlighted the long curved trestle on the lower leg of the horseshoe loop
and two distant trestles on the far hillside. The curved trestle is listed
in Myrick's book as being 647 feet long and 60 feet high. Note that several
of the posts of the curved trestle can be seen in red and white fill area
at the left side of the shot. In 1897 the curved trestle was replaced by
a fill and a cut as seen in the recent photo. Compare this photo to the Sharlot
Hall photo that follows.

This shot comes from the digital collection at the Sharlot
Hall Museum, Sharlot Hall
Photo RR-167P , and provides a turn of the century shot at the location
above.

This next shot is an attempt to recreate another view of the curved trestle
found in Myrick's "Railroads of Arizona, Vol 5". If you happen to have
the book, the photo may be found on page 70. Note that this shot captured
part of the trestle that was below the curved trestle. It would have been
in the light colored area in the lower left of this shot.
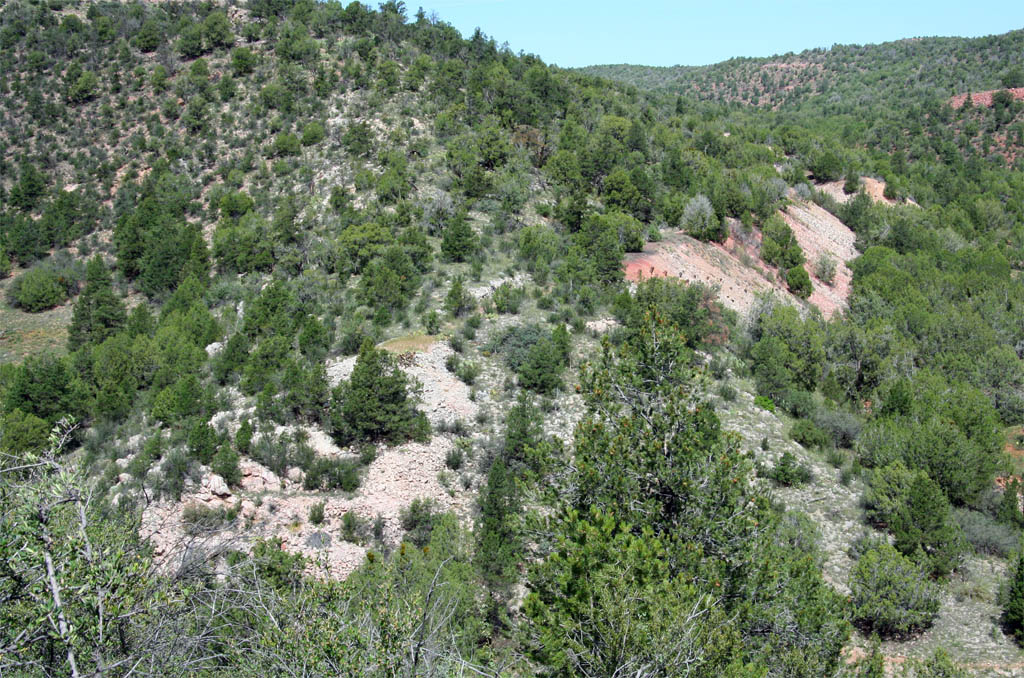
Now that we have a couple of "now and then" shots out of the way it is
time to take a better look at the lower leg of the horseshoe loop. This
shot to the south shows the location of the lowest trestle on the loop which
was just south of the large curved trestle. The forest road drops down off
of the grade and then curves underneath the trestle. The opposite approach
can just be seen through the trees just above the center of the shot.
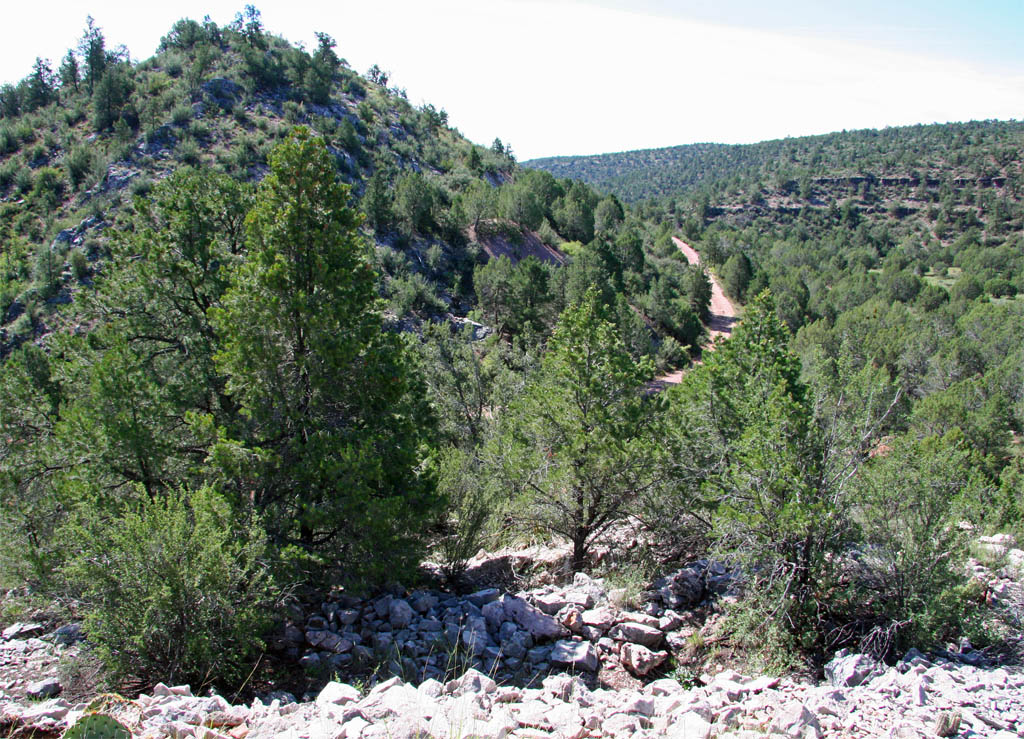
This is the view to the north of the short land bridge between the lower
trestle and the curved trestle.
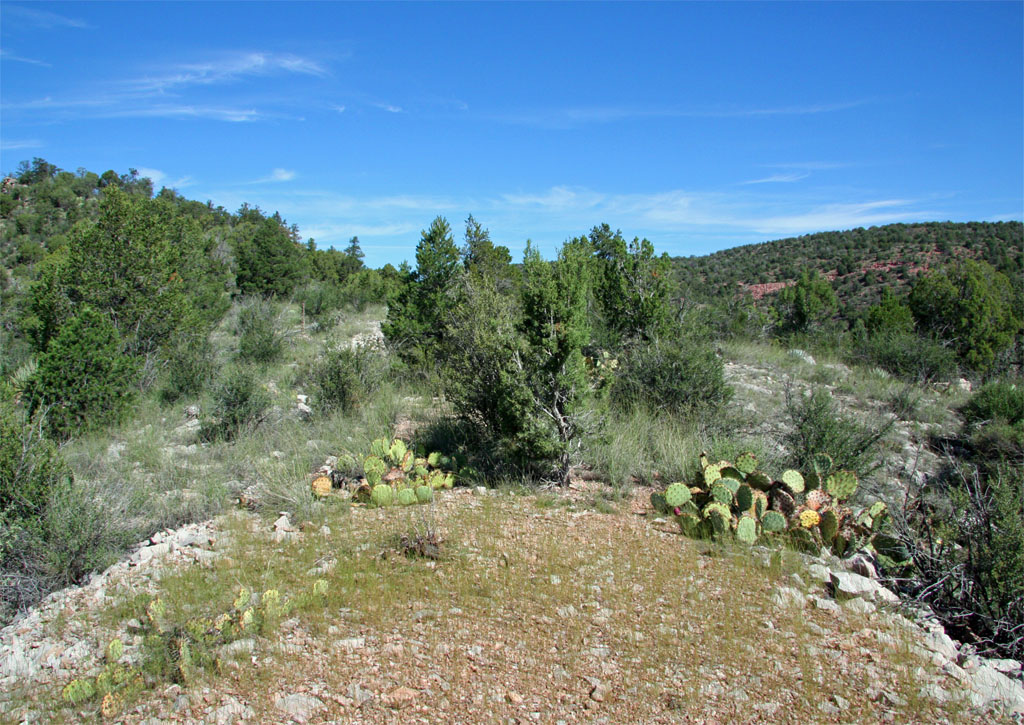
In this view off of the side of the long fill, several of the posts from
the curved trestle can be seen. Note also the upper portion of the
horseshoe loop on the distant hill.

This view is down the long fill that replaced the curved trestle which
bulged out to the right before curving back into the grade up by the cut.
Note that we see signs of the cinder rock ballast found up by Rock Butte.
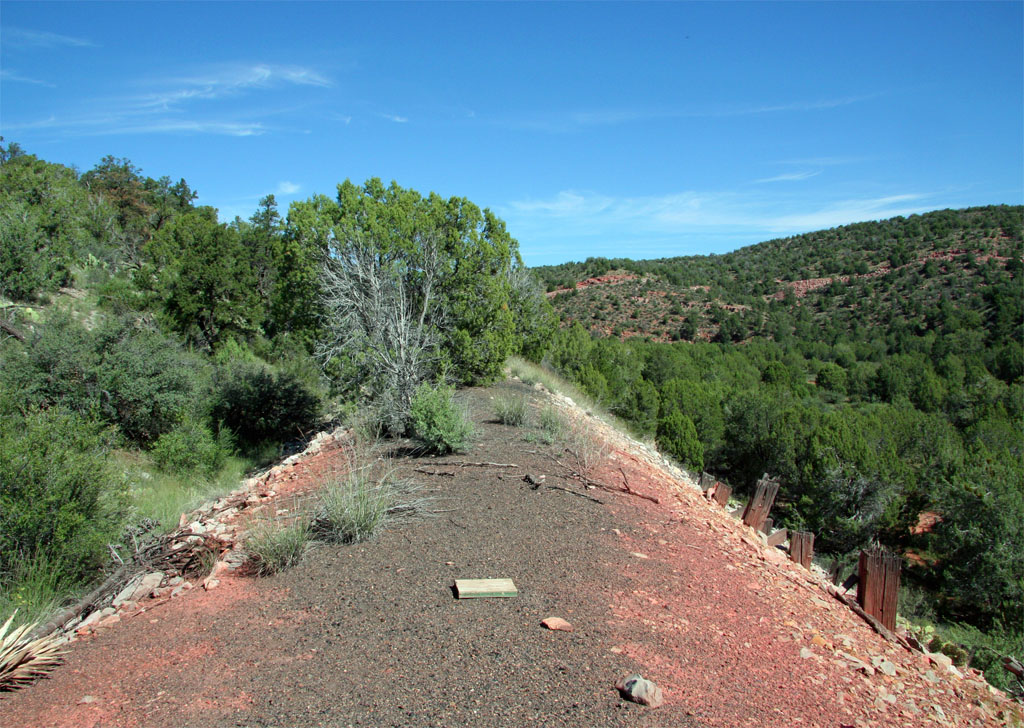
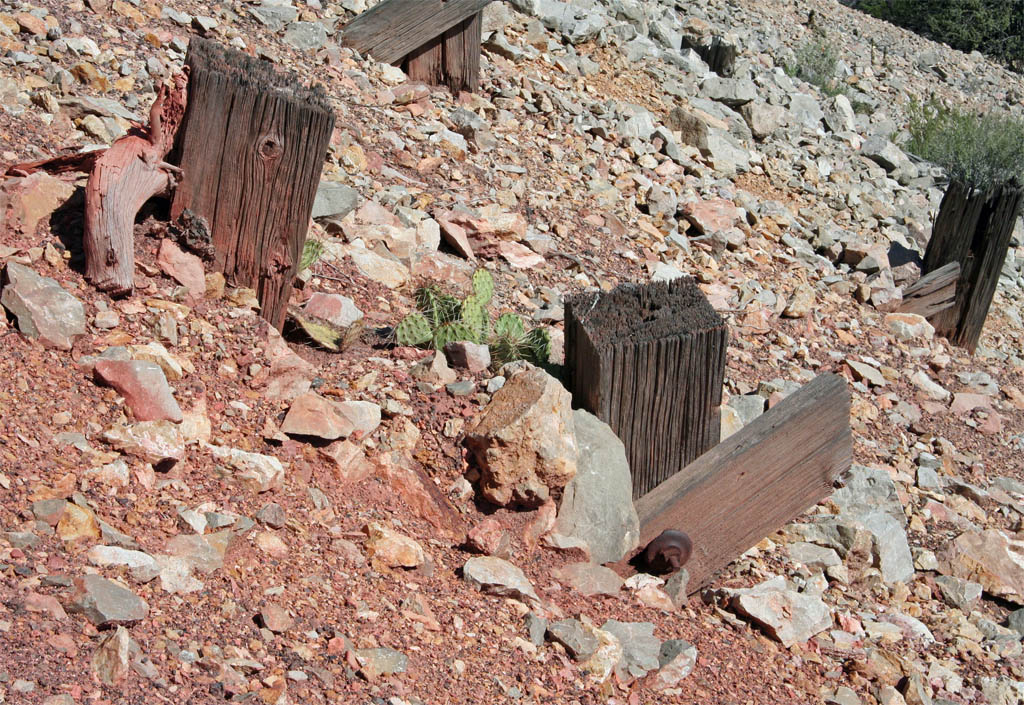
Anyone want to excavate an old trestle? It looks like this end was buried
by the fill and then the posts chopped off at fill level. Sway braces with
NBW still in place.
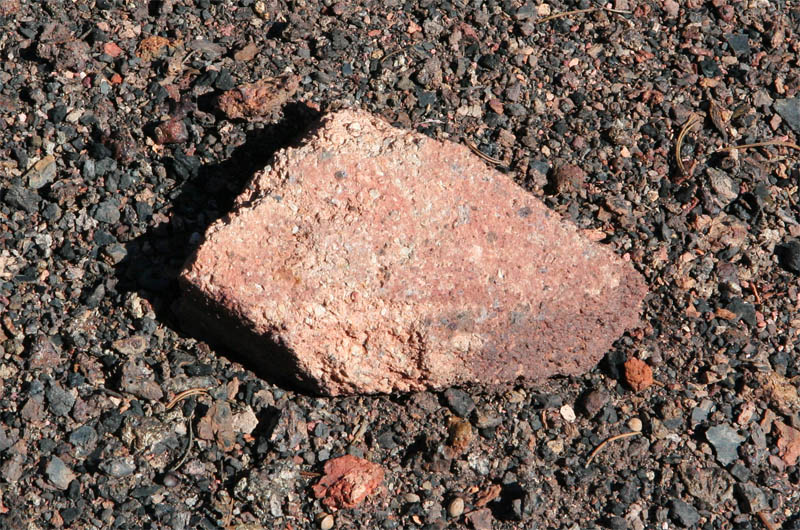
This appears to be a brick from a firebox.
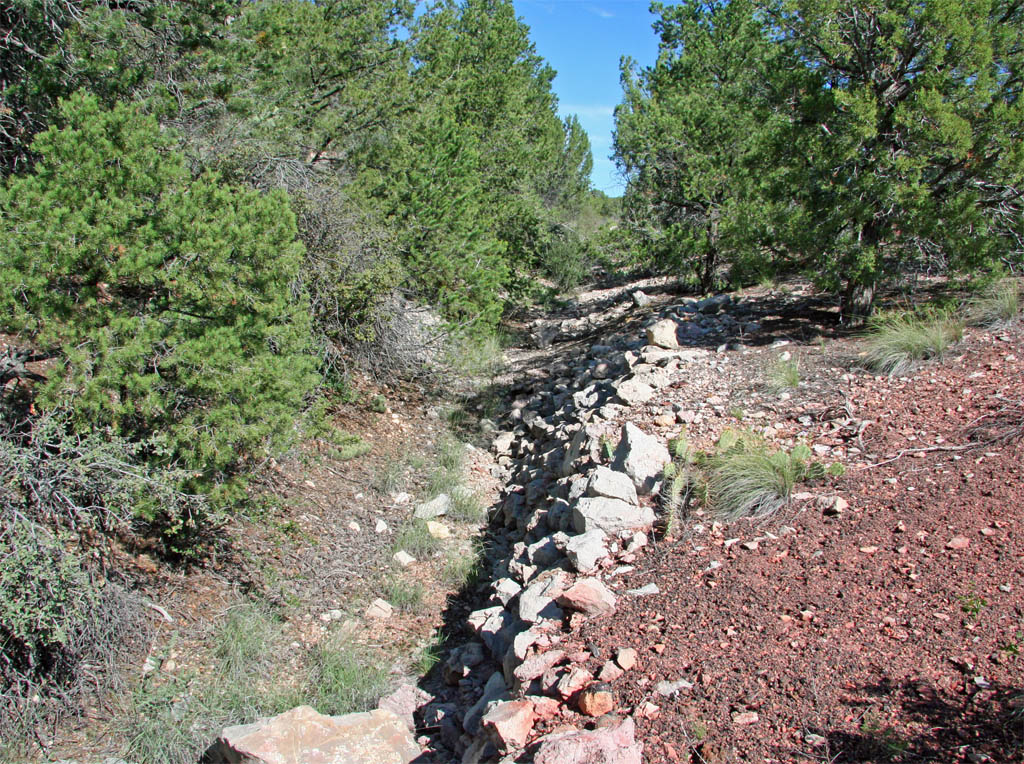
Some of the stacked rock that edges the hillside of the fill.
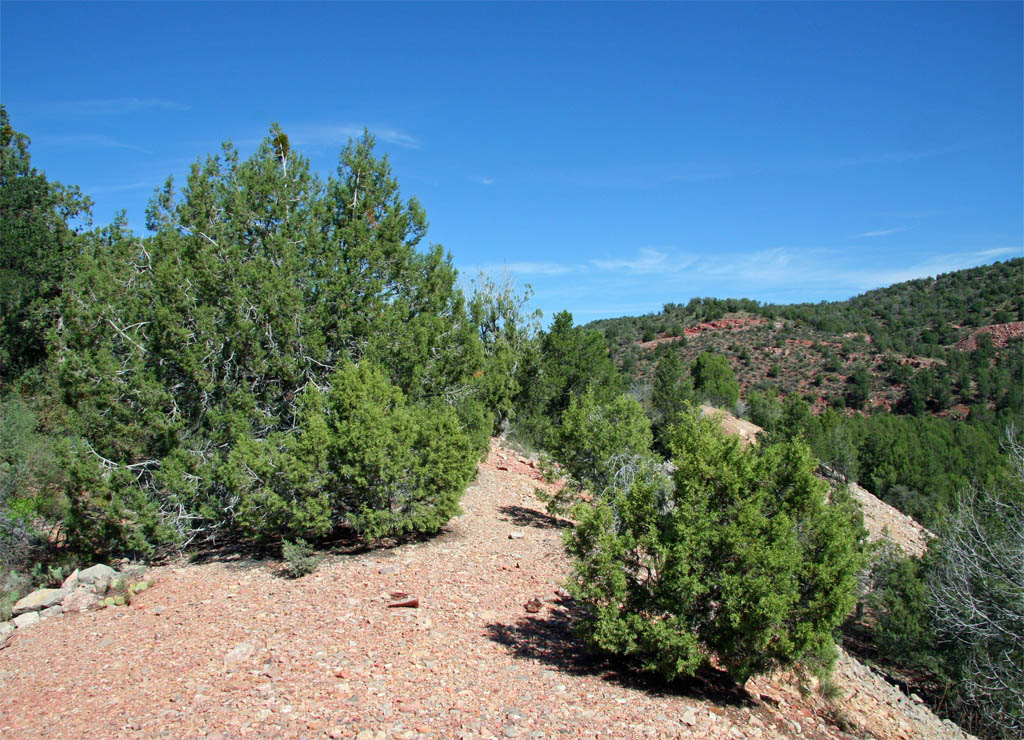
We are approaching the end of the big fill and the northern approach of
the earlier curved trestle can be seen to the right.
This is a view to the south off of the northern approach of the curved
trestle. The long fill can be seen to the right along with the tall trestle
site at upper left. The forest road winds its way through the lower part
of the canyon.
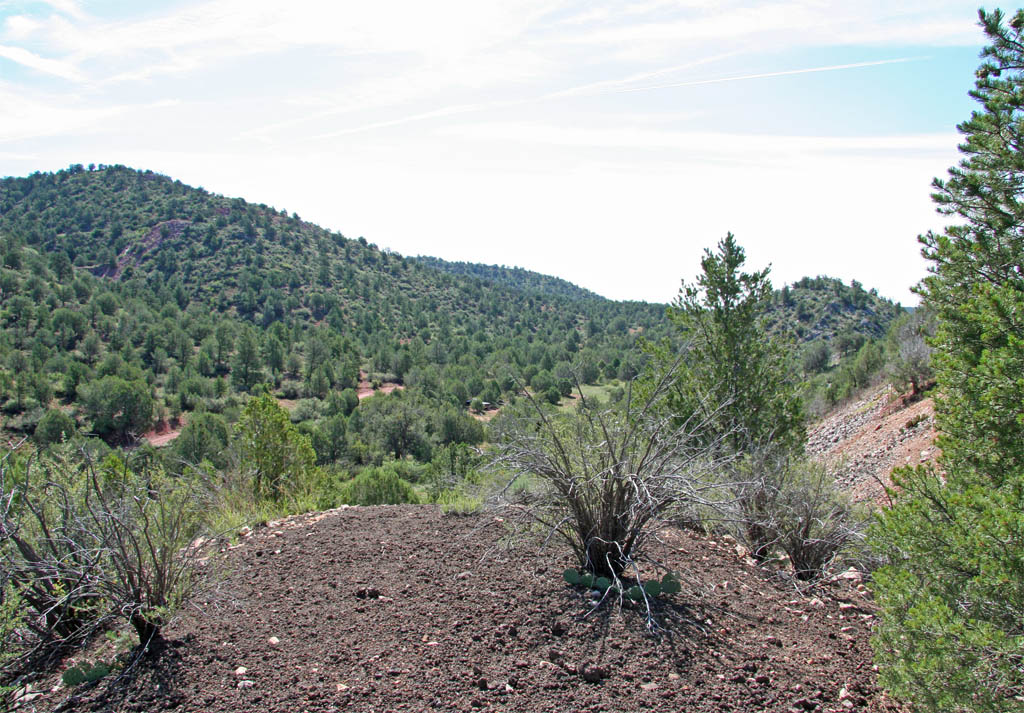
In this view I am standing on the ridge between the cuts just north of
the fill and curved trestle site. The earlier cut for the curved trestle
is on the right with the cut for the fill on the left. This small ridge is
all that separates the two cuts.
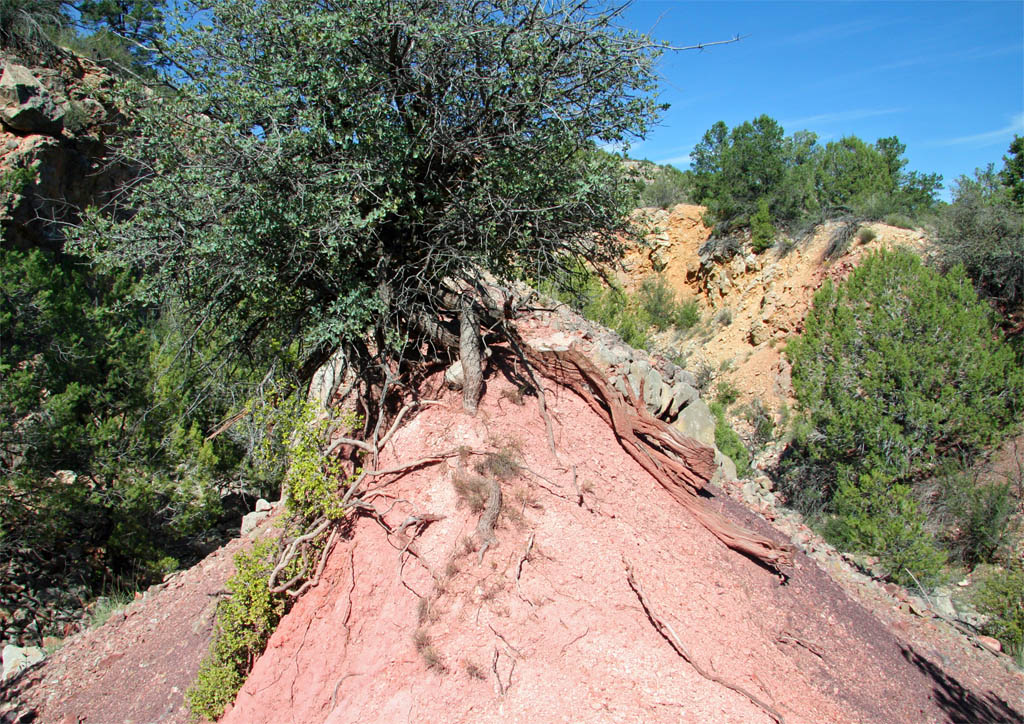
The reason that I climbed up between the two cuts is that I wanted to
get a view of the tall trestle site across the canyon to figure out the
location of another photo from the Sharlot Hall Museum. The cuts are so
full of new growth that it is impossible to exactly duplicate the shot.
The best that I can do is to try and line up the background hills from above
the cut. Imagine this view framed by a cut on each side when comparing to
the Sharlot Hall photo below. I'm guessing that the period photo was taken
from the earlier cut for the curved trestle. A similar shot can also be
found on page 85 of Myrick's book.
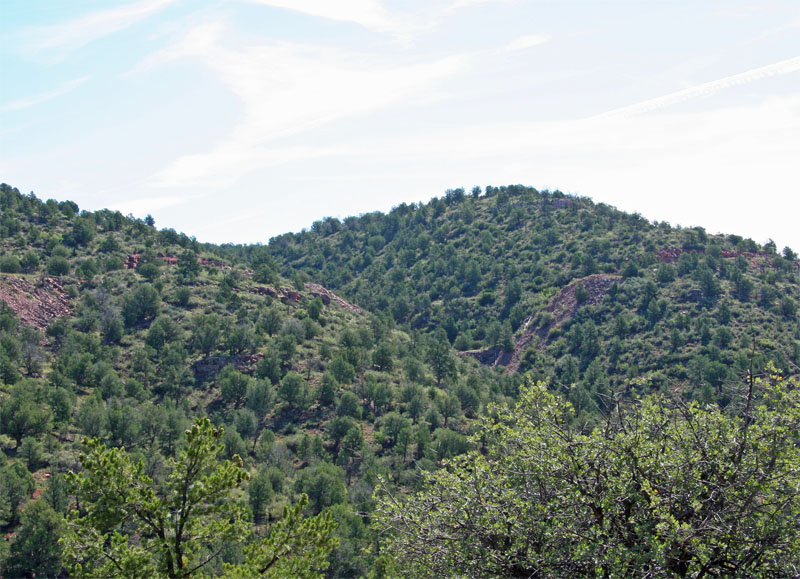
This shot comes from the digital collection at the Sharlot Hall
Museum, Sharlot
Hall Photo RR-151P , and provides a turn of the century shot at the location
above.

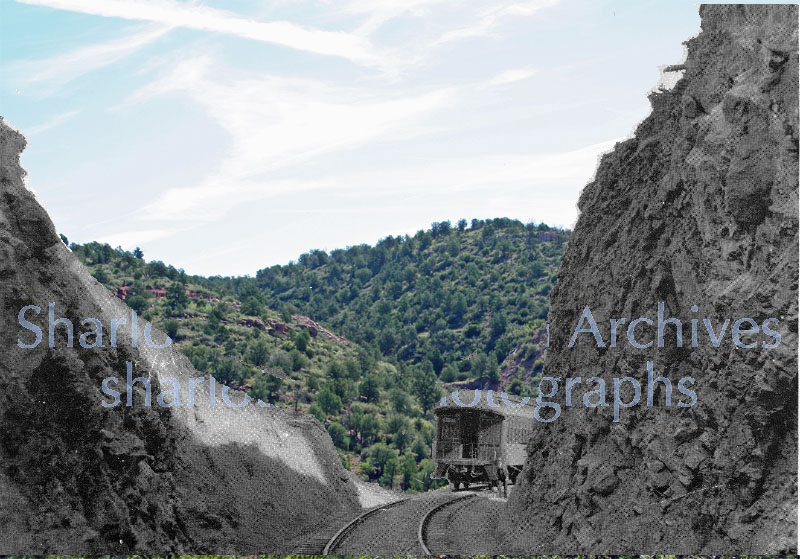
Here is a crude attempt at merging my background image with the Sharlot
Hall foreground image. Obviously it isn't exact since it was taken from
a different angle but fairly close.
This view is through the newer cut and we can see the red ridge between
the cuts that I was standing on for the prior shots. Note how overgrown
the cut is and why I couldn't reproduce the period photo from the cut.
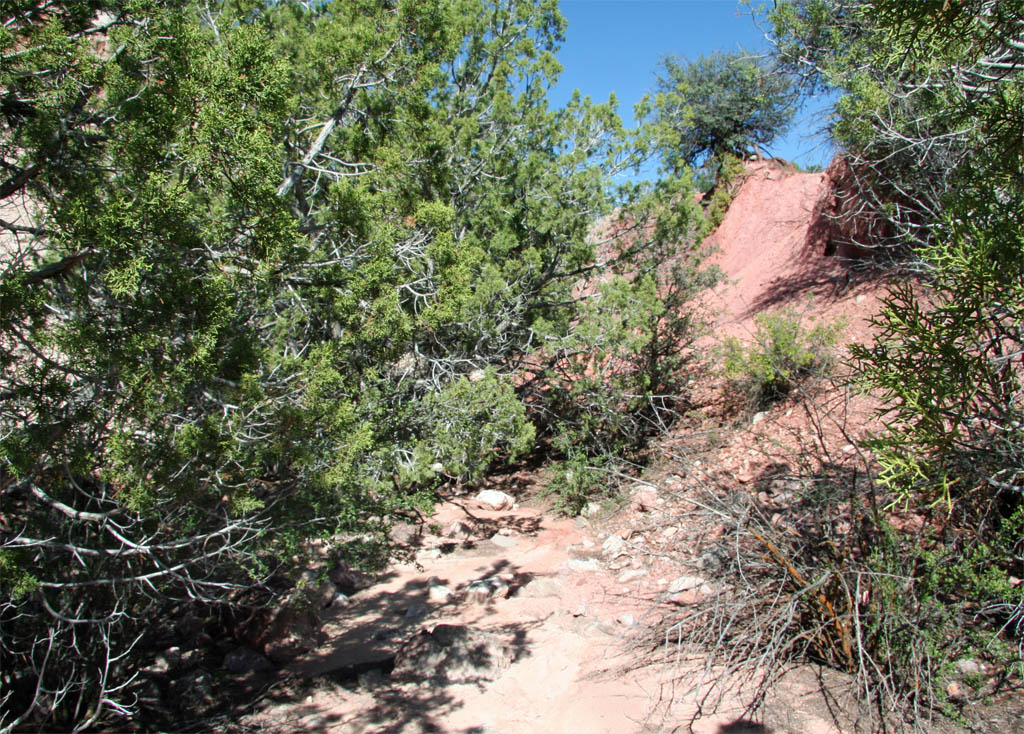
The cut does open up further in and is quite wide due to the two slices
that were made through this hill.
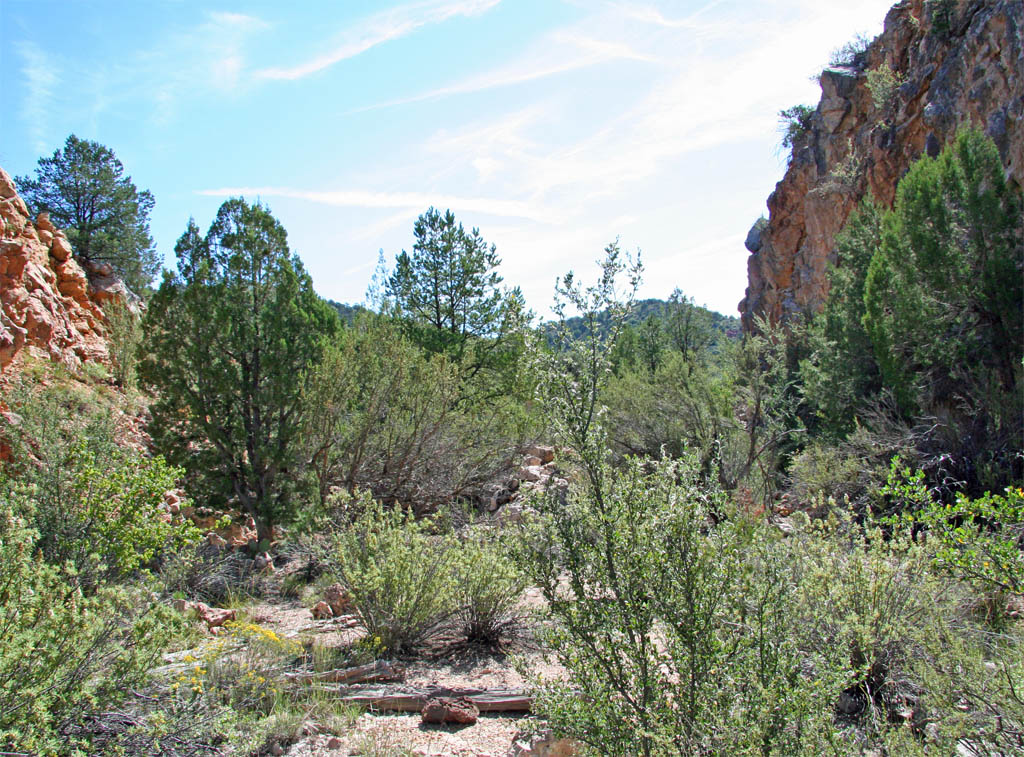
Coming out of the cut, the grade arcs around the canyon wall on another
fill.
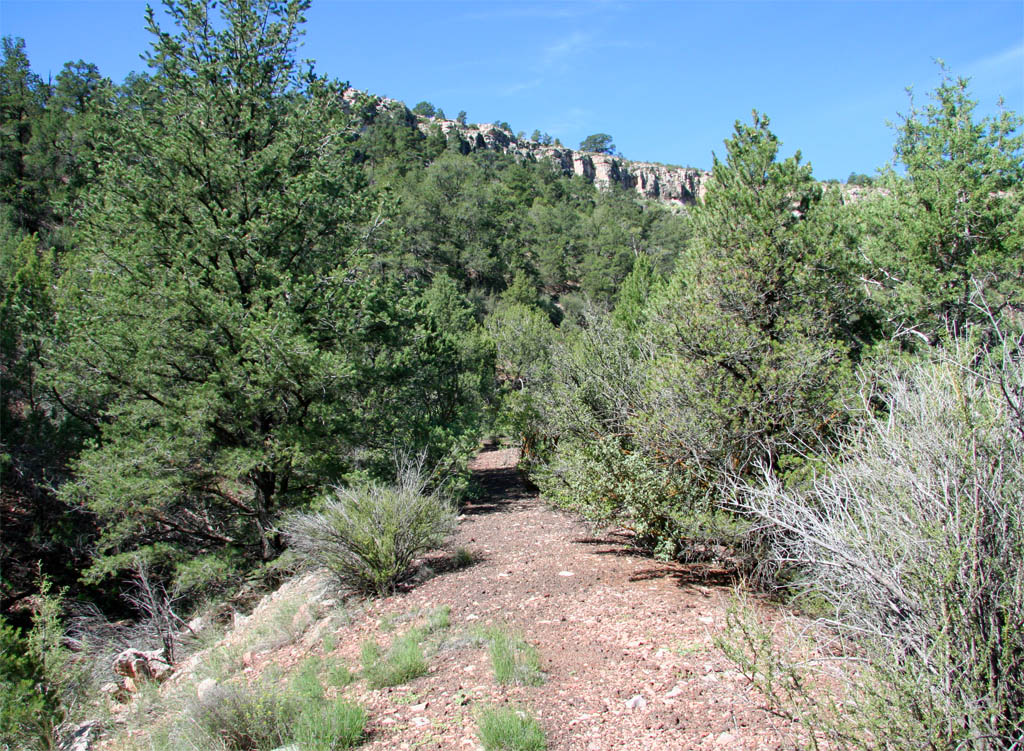
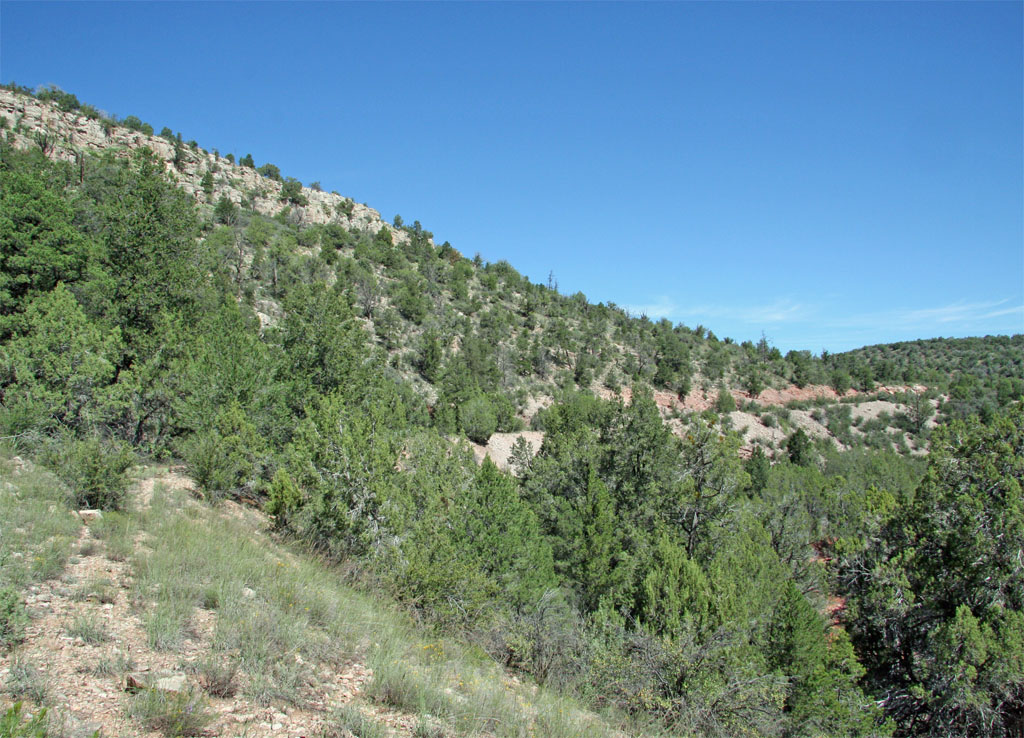
A view of the big arc that will take us over to bridge crossing 29 that
bridged the gap between the two canyon walls.
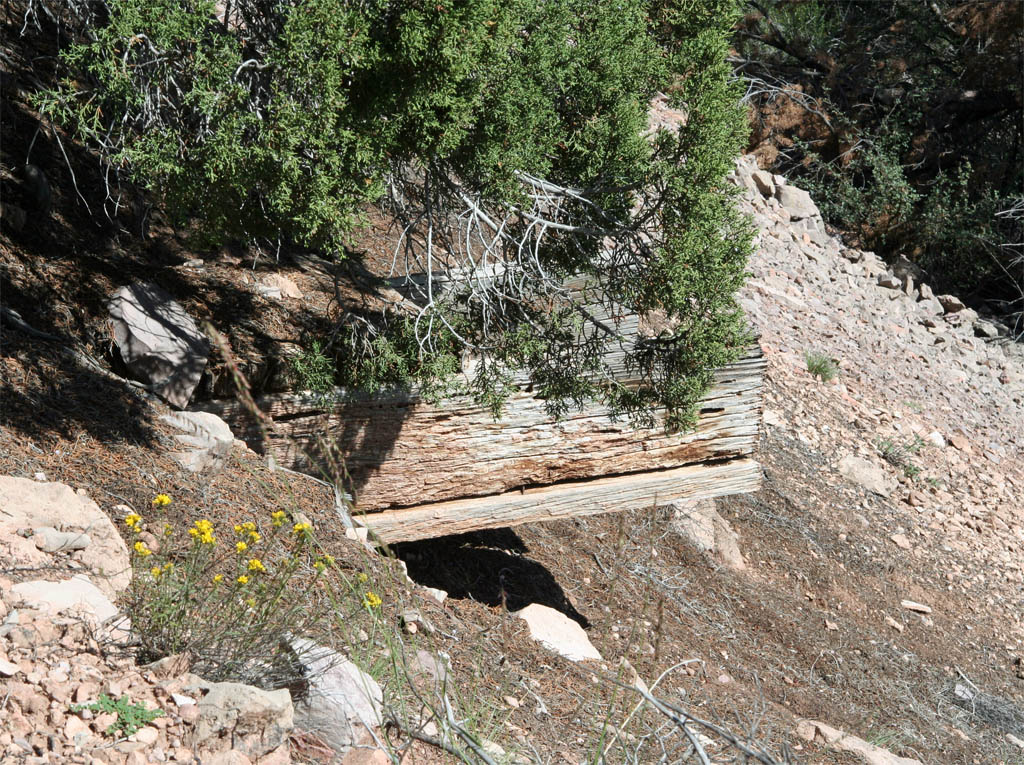
An intact but well weathered drainage box that is visible on both sides
of the grade. The hill side seems to be clogged as I couldn't see light
through the box.
In this view we start to see the upper grade of the horseshoe loop at
the right side of the shot. This would have been the eastern approach of
bridge crossing 29.
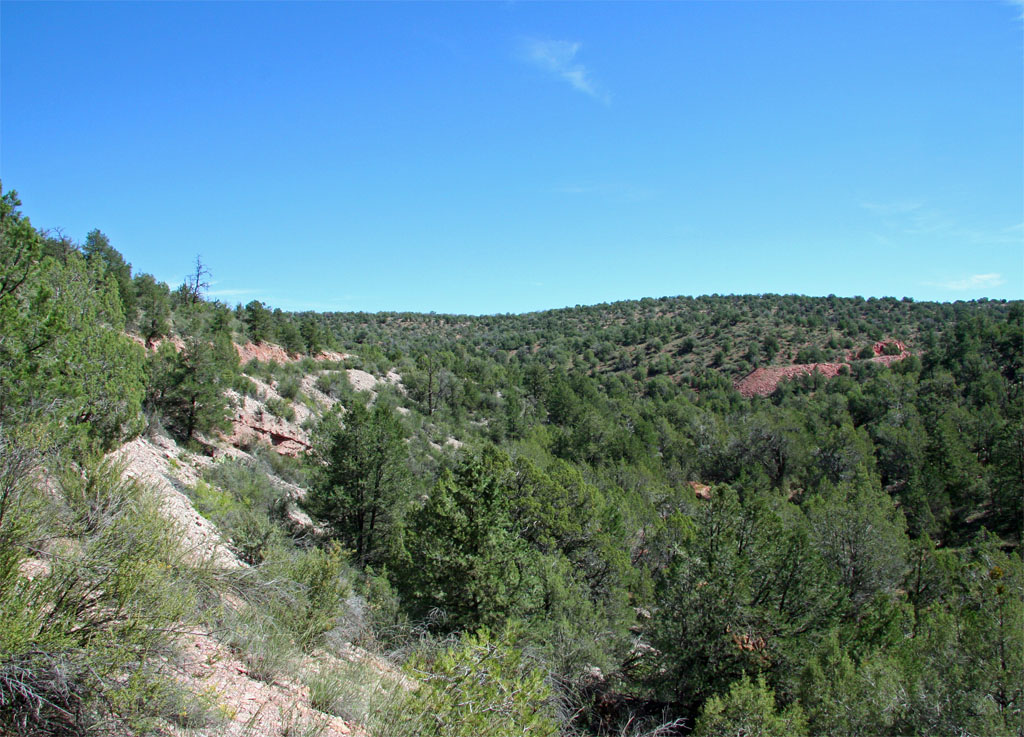
This view back to the southeast provides a look back at the cut that
we came through earlier and the tall trestle site. A short trestle site along
the high line can also be seen at the left side of the shot.
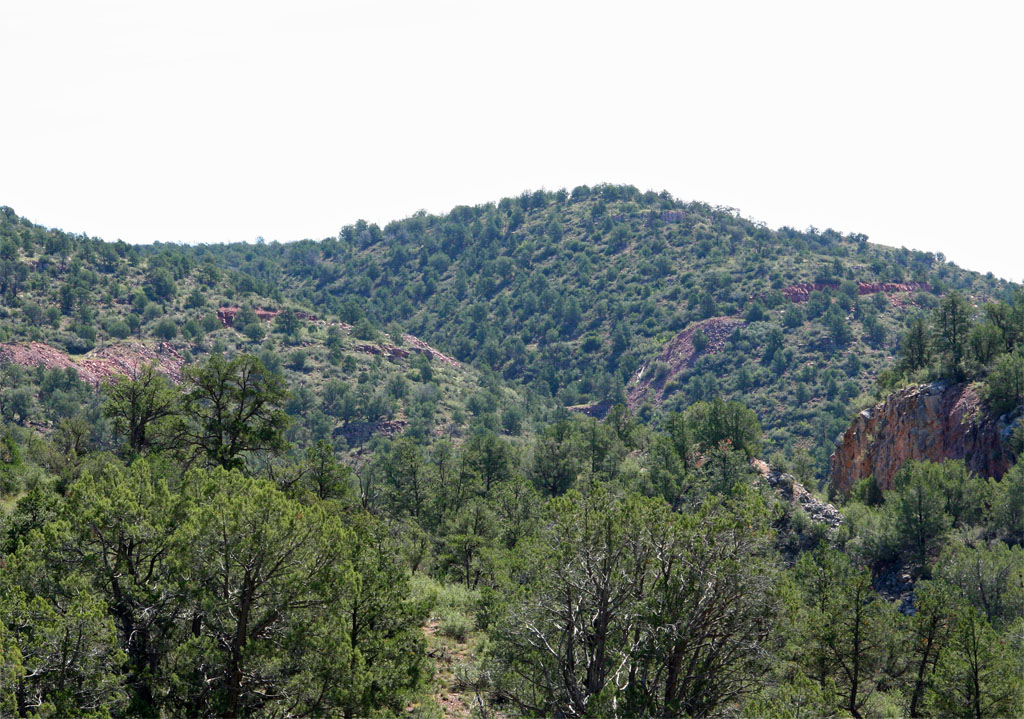
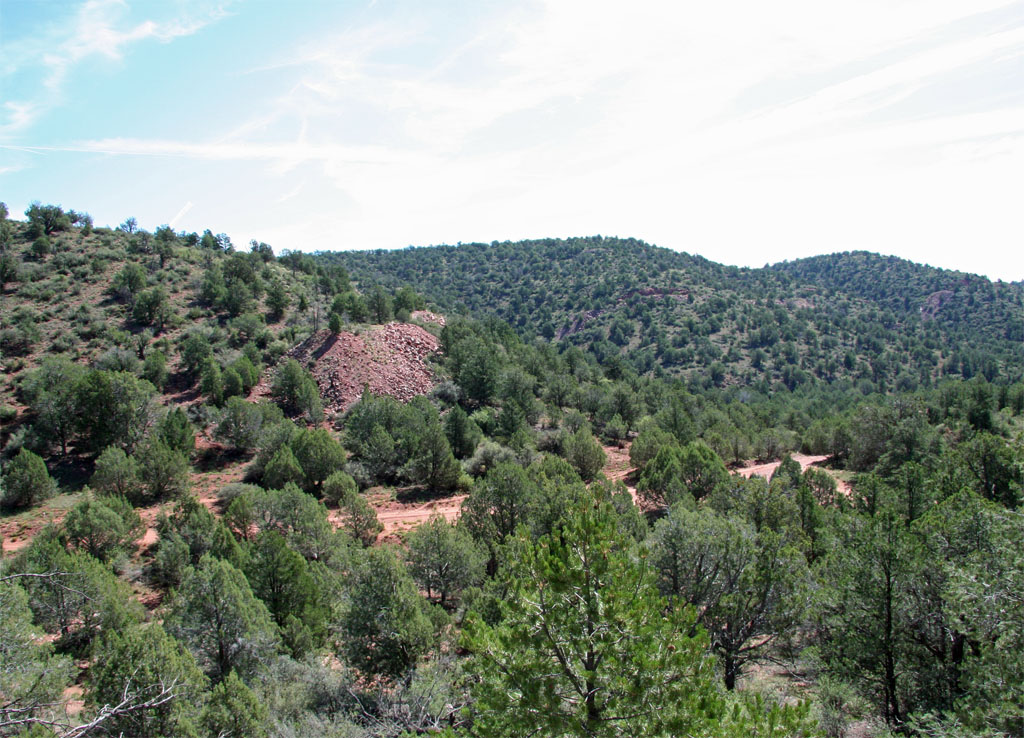
Finally we make it to the western approach of bridge crossing 29. The
tall trestle site can be seen at the far right. Another trestle site along
the highline can be seen in the center of the shot. Forest road 573 wanders
around in the valley below. That is all for this installment which provides
a nice transition into installment 5 which I posted earlier.
Page 5